Autoclave Loading Patterns: Maximizing Sterilization Efficiency
Autoclave loading patterns that prevent wet packs and failed loads: 75% rule, clearances, pouch orientation and cycle selection by load type.
 Made in Sialkot · Since 1980
Saturated steam at 134°C carries roughly 2,160 kJ of latent heat per kilogram. It releases that energy the instant it condenses on a cooler surface — which is the entire mechanism by which a steam sterilizer kills spores.
Air does not do this. Air trapped anywhere in the chamber creates a cold pocket where the load never reaches sterilizing temperature, no matter how long the cycle runs.
That single fact explains every loading rule that follows. Autoclave loading patterns are not housekeeping preferences. They are air-removal strategy.
The 75% Rule
Load the chamber to no more than 75–80% of its volume. Beyond that, steam cannot circulate freely and the dynamic air-removal phase of a pre-vacuum cycle stops being able to pull residual air out of pack interiors.
Minimum clearances that hold across sterilizer designs:
- 25 mm (1 inch) between adjacent packs, trays, or pouches
- 50 mm (2 inches) from chamber walls, ceiling, and floor
- No contact between any item and the chamber wall — contact points cause condensate bridging and wet packs
A chamber that looks two-thirds empty is loaded correctly. One that looks efficient is usually overloaded.
Loading by Item Type
| Load type | Position | Orientation | Reason |
|---|---|---|---|
| Wrapped instrument trays | Lower shelf | Flat, perforated base down | Condensate drains rather than pooling in the wrap |
| Rigid containers | Lower shelf, never stacked on textiles | Flat, filters unobstructed | Filter ports need direct steam access |
| Peel pouches | Upper shelf, in a rack | On edge, paper-to-plastic | Steam enters through paper; plastic-to-plastic traps air |
| Textiles and gowns | Top shelf | Vertical folds, loosely packed | Steam travels along fold planes; also prevents dripping onto packs below |
| Basins and bowls | Any shelf | Tilted or inverted, single layer | Prevents condensate collection and air entrapment |
| Hinged instruments | Within trays | Ratchets fully open, in stringers | Closed box locks shield the joint surfaces from steam |
| Lumened devices | Lower shelf | Horizontal, slight downward slope | Air drains out; water does not pool in the lumen |
| Mixed loads | Textiles above, metal below | Even spread across the shelf | Denser metal loads condense more; keeps drip off fabric |
The peel-pouch orientation rule is the one most often broken. Pouches laid flat and stacked create a plastic-to-plastic interface that steam cannot penetrate and air cannot escape from. On edge, in a dedicated rack, paper facing plastic — every time.
Why Metal Goes Below Textiles
Dense stainless steel trays absorb a large volume of steam during heat-up, producing correspondingly more condensate. If they sit above wrapped textile packs, that condensate drips down and saturates the wrap, and the load fails on wet-pack criteria even though the sterilization parameters were achieved.
Reverse the arrangement and the same condensate drains onto the chamber floor and out the drain line, which is where it belongs.
Instrument Preparation Before Loading
Loading pattern cannot compensate for a poorly prepared tray:
- Hinged instruments opened to the first ratchet minimum, ideally fully open on a stringer
- Instruments disassembled where the manufacturer’s IFU calls for it — retractor blades, suction handles, any threaded component
- Tray weight kept under 11 kg (25 lb) including the container, which is the widely used ceiling for drying performance
- Absorbent tray liners used for heavy metal sets so condensate has somewhere to go
- Instruments dried before packing — residual water from the washer becomes condensate load
Instruments that arrive from the washer still wet are one of the more common root causes of wet packs, and staff frequently blame the sterilizer for a problem that originated two stations upstream in the ultrasonic cleaning and washer stage.
Load Configuration and Cycle Selection
Different loading patterns demand different cycles. A pre-vacuum cycle uses mechanical air removal in pulses and handles wrapped, porous, and lumened loads. A gravity-displacement cycle relies on steam pushing air downward and out of the drain — adequate for unwrapped, non-porous items, and unreliable for anything with a lumen or a dense wrap.
| Cycle | Typical parameters | Appropriate loads |
|---|---|---|
| Pre-vacuum (dynamic air removal) | 134°C, 3–4 min exposure, 20–30 min dry | Wrapped trays, containers, textiles, lumens |
| Gravity displacement | 121°C, 15–30 min exposure | Unwrapped non-porous instruments, glassware, liquids |
| Immediate-use (IUSS) | 134°C, 3–10 min, minimal dry | Single unwrapped item, immediate transfer only |
Run a Bowie-Dick test daily in an empty pre-vacuum chamber before the first processed load. It tests air removal specifically, and a failed Bowie-Dick means every loading rule above is academic until the sterilizer is serviced.
Common Loading Faults and Their Signatures
Failures leave recognisable evidence:
- Wet packs on the bottom shelf only — metal loaded above textiles, or a cold chamber floor
- Wet packs throughout — overloaded chamber, inadequate dry time, or wet instruments loaded from the washer
- Chemical indicator failure in pack centres — packs too dense or too tightly wrapped; air not removed
- Failure only in pouches — pouches stacked flat instead of on edge
- Staining on instruments after cycles — condensate pooling combined with feed-water quality; check chloride content
- Random single-tray failures — items touching the chamber wall
Water quality deserves its own note. Steam generated from feed water with high chloride content produces the brown and blue-black films that are routinely misdiagnosed as instrument defects. Feed water for medical steam should sit well under 2 mg/L chloride; above roughly 10 mg/L, pitting of even correctly passivated AISI 420 becomes likely over repeated cycles.
The Cold Spot and Where to Put the Biological Indicator
Every chamber has a coolest point — the location that reaches sterilizing temperature last and holds it for the shortest time. In most pre-vacuum sterilizers it sits near the drain, low and toward the front, though this is determined during installation qualification rather than assumed.
Process challenge devices and biological indicators go in the cold spot, inside the densest pack in the load. Placing them on an upper shelf in an easy-to-reach position produces a pass that means nothing, because you have tested the easiest location in the chamber rather than the hardest.
The same logic applies to load composition. A chamber qualified with a full textile load behaves differently under a mixed metal-and-textile load. Departments running highly variable load types should qualify the load families they actually process, not a single reference load.
Drying: Part of the Cycle, Not an Afterthought
Drying is where a technically sterile load becomes an unusable one. A wrapped pack that leaves the chamber damp has lost its microbial barrier — moisture wicks contamination straight through the wrap, and the pack must be reprocessed regardless of what the indicators show.
Levers that improve drying, in order of effect:
- Reduce tray weight. Below 11 kg is the target; heavy sets are the most common wet-pack source
- Extend the dry phase. 30 minutes for dense metal loads is not excessive
- Crack the door and hold. A 15-minute post-cycle cool-down with the door ajar allows residual moisture to flash off
- Never touch a warm pack. Handling a pack before it has cooled to room temperature transfers moisture and contamination through the wrap
- Use absorbent tray liners under heavy instrument sets
Cooling on a solid surface traps condensate underneath. Cool on open wire racks, out of the path of air-conditioning vents, where a cold draught on a warm pack causes condensation to form on the wrap.
Documentation Per Load
Every cycle record should capture load contents, the sterilizer and cycle number, operator, exposure parameters, and the results of chemical and biological indicators. Load-level records are what make a recall targeted rather than facility-wide when a biological indicator fails.
Facilities tracking instruments through structured inventory management systems can link a failed load directly to the trays and the patients involved within minutes. Manual paper logs cannot.
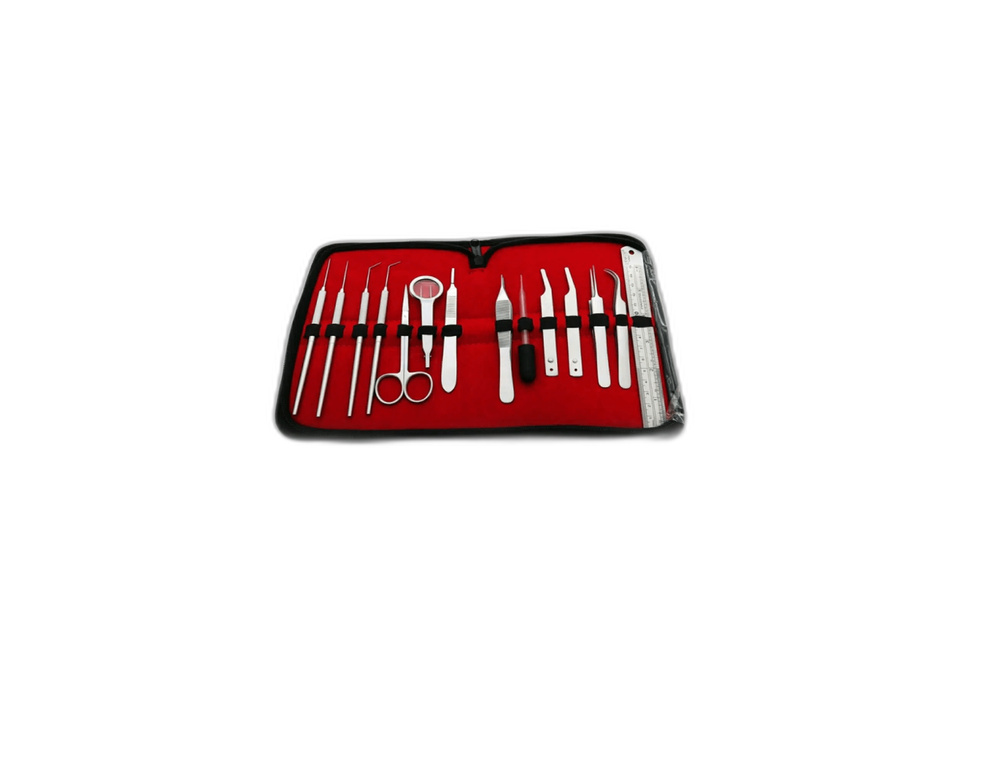
Our instrument range, including sets specified for high-throughput reprocessing, is listed under surgical instruments, with material and conformity documentation on the certifications page.
Frequently Asked Questions
How full can an autoclave chamber be loaded?
75–80% of chamber volume is the working ceiling. Maintain 25 mm between items and 50 mm from all chamber surfaces. Correct autoclave loading patterns look sparse; the temptation to squeeze in one more tray is the most common cause of pack-centre sterilization failures.
Should peel pouches be laid flat or placed on edge?
On edge, in a pouch rack, with paper facing plastic on adjacent pouches. Laying them flat and stacking creates plastic-to-plastic contact that blocks steam entry and traps air. This is the single most frequent pouch-loading error.
Why do metal trays go below textile packs?
Dense metal generates far more condensate during heat-up. Positioned above textiles, that condensate drips into the wrap and produces wet packs. Below textiles, it drains to the chamber floor and out through the drain line.
What causes wet packs even when the cycle passed?
Four usual causes: overloading, instruments loaded still wet from the washer, insufficient drying time, and items touching the chamber wall. Tray weight above 11 kg also degrades drying substantially. Check the load configuration before assuming a sterilizer fault.
Need precision surgical instruments?
Configure complete instrument sets with our team — ISO 13485 certified, CE marked, made in Sialkot since 1980.
Related Guides
View all articles →

Where We Serve
Fizza Surgical exports to 50+ countries. Browse our country-specific pages with local regulatory guidance and pricing:
