Dental Composite Instruments: Placement & Carving Guide
A practical guide to dental composite instruments: placement blades, pluggers, carvers and burnishers, plus why non-stick tips and carving order matter.
 Made in Sialkot · Since 1980
A Class II composite on a lower molar exposes every weakness in a restorative kit. If the placement instrument drags the material, if the carver cannot reach the marginal ridge, if the burnisher leaves a flat contact — the restoration fails at the margin long before the patient notices. The instruments you reach for during those four or five minutes decide whether the filling lasts two years or twelve.
Composite is unforgiving in a way amalgam never was. It sticks to steel, slumps under its own weight, and cures the moment stray light hits it. A well-designed set of restorative hand instruments is built specifically to fight those three tendencies. This guide walks through each category, the geometry that matters, and how the metallurgy affects daily handling.
The four working groups in a composite kit
Manufacturers list dozens of pattern names, but functionally a composite tray breaks into four jobs: carry and place, condense, carve, and finish. Most double-ended instruments combine two of these so a clinician can work without constantly switching.
| Instrument group | Primary job | Typical working end | Common patterns |
|---|---|---|---|
| Placement / plastic filling | Transfer and adapt composite to cavity walls | Flat paddle or angled blade | Composite placement instrument, Goldstein Flexi-Thin |
| Condenser / plugger | Pack material into base and line angles | Round or flat nib, 1.5–2.0 mm | Ball burnisher-condenser, cylindrical plugger |
| Carver | Cut anatomy, grooves, marginal ridges before cure | Bladed, discoid-cleoid, Hollenback | Hollenback 3S, discoid-cleoid, IPC |
| Burnisher | Smooth and blend the uncured surface | Ball, football, acorn, beavertail | Ball, football, acorn burnisher |
Placement instruments
The placement, or plastic filling, instrument is the workhorse. It has a flat blade at one end for spreading composite across a proximal box and a condensing nib at the other. What separates a good one is the angle between shank and blade — enough offset to keep the handle clear of the opposing arch when you are working a distal box on a second molar.
Anterior work rewards a thinner blade. A Flexi-Thin or Goldstein-style blade slides into the interproximal zone and adapts material to the cervical margin without over-packing. In the posterior, a slightly heavier paddle moves more bulk per stroke.
Condensers and pluggers
Composite does not condense the way amalgam does — you are adapting, not compacting — but a plugger still matters. A 1.5 to 2.0 mm round nib presses each increment into the internal line angles and drives out the voids that later read as post-operative sensitivity. Flat-faced pluggers work well for occlusal build-up; round nibs suit the pulpal floor and proximal box.
Carvers
Here is the detail that trips up new graduates: with composite, you carve before light curing, not after. The material behaves like soft clay for those few seconds, and a sharp carver recreates a fossa or a marginal ridge in one clean pass. Wait until after the cure and you are grinding with a bur instead.
The discoid-cleoid handles occlusal anatomy — the disc shapes cuspal inclines, the claw defines grooves. A Hollenback carver, with its long thin blade, refines the gingival margin and removes flash at the cavosurface line. Thin, well-honed blades are non-negotiable for the interproximal and cervical zones.
Burnishers
Ball, football, and acorn burnishers each map to a region. The ball smooths the occlusal table and pre-shapes fossae; the football (egg) blends lingual and buccal surfaces; the acorn defines and smooths marginal ridges. A light burnishing pass before the final cure leaves a surface that needs minimal finishing and polishing afterward — which protects the cured resin from unnecessary heat.
Why the coating matters more than the steel
Composite’s defining nuisance is that it clings to bare stainless. Most quality restorative instruments are forged from martensitic stainless — AISI 420 grade is common — hardened to hold a carving edge, then given a non-stick surface treatment.
Two approaches dominate. Titanium nitride (TiN) coating gives the familiar gold working end and a low-friction surface that releases resin cleanly. Anodized aluminum or specialized fluoropolymer-treated tips do the same job with a different look. Either way, the goal is identical: the composite follows the tooth, not the instrument. A bare, uncoated blade will pull a freshly placed increment right back out of the box.
For the carving and burnishing ends, edge retention beats non-stick. Those tips are usually left as hardened, passivated stainless so they can be re-sharpened over a service life. If you want the background on why passivation protects that edge from corrosion, our note on surgical instrument passivation covers the chromium-oxide layer in detail.
A working sequence for a posterior composite
Every operator develops a rhythm, but the instrument logic is consistent:
- Adapt the first increment to the pulpal floor and proximal box with the placement blade.
- Press it into the line angles with a 1.5 mm plugger, then cure.
- Build occlusal increments, condensing each layer firmly before the next.
- Burnish the final layer smooth with a ball burnisher.
- Carve the anatomy — grooves, cusps, marginal ridge — with the discoid-cleoid and Hollenback while the resin is still soft.
- Cure fully, then finish and polish.
Notice how the carver and burnisher order is the reverse of an amalgam sequence. That single habit change accounts for most of the difference between a flat, over-polished composite and one with real occlusal form.
Care, sterilization, and service life
Restorative hand instruments are fine, and their working ends are their entire value. Ultrasonic cleaning removes set composite from the paddles and nibs that hand-scrubbing misses, but never let cured resin build up on a carver — it dulls the edge and changes the anatomy you cut. Autoclave at 134°C on a standard cycle, and inspect carving edges under magnification periodically. A carver that no longer cuts clean anatomy should be re-sharpened or retired.
Handling of coated tips deserves care. Aggressive scaling or scraping against a metal tray will breach a TiN or fluoropolymer surface, and once bare steel is exposed, the non-stick benefit is gone in that spot. Soft-tipped cassettes protect the finish between cycles.
Fizza Surgical manufactures composite and restorative hand instruments in AISI 420 martensitic stainless, with coated non-stick working ends and passivated carving edges, under ISO 13485 and CE marking. Browse the full range in our dental instruments category, and see our certifications for the standards each instrument is built to. For extraction-side pairings, the dental luxator vs elevator guide is a useful companion.
Frequently Asked Questions
Why do composite instruments have gold or black tips instead of plain steel?
The colored tip is a non-stick surface treatment — usually titanium nitride (gold) or a fluoropolymer/anodized coating (black or grey). Composite resin clings to bare stainless steel, so the coating lets freshly placed material release cleanly and follow the tooth surface instead of the instrument.
Should composite be carved before or after light curing?
Before. Uncured composite behaves like soft clay and can be shaped in a single clean pass with a carver such as a discoid-cleoid or Hollenback. Carving after the cure means grinding cured resin with a bur, which is slower and less precise.
What is the difference between a plugger and a burnisher in a composite kit?
A plugger (condenser) has a flat or round nib used to press composite into the internal line angles and remove voids. A burnisher has a smooth ball, football, or acorn end used to smooth and blend the surface. Some double-ended instruments combine a condensing nib with a burnishing ball.
What steel grade are dental composite instruments made from?
Most are forged from martensitic stainless steel, commonly AISI 420, which hardens enough to hold a carving edge. The carving and burnishing ends are typically passivated stainless, while placement and condensing ends carry a non-stick coating.
Can a coated composite instrument be re-sharpened?
Carving ends left as bare passivated stainless can be re-sharpened over their service life. Coated placement and condensing ends should not be ground, because breaching the non-stick surface exposes bare steel and the composite will begin to stick at that point.
Need precision surgical instruments?
Configure complete instrument sets with our team — ISO 13485 certified, CE marked, made in Sialkot since 1980.
Related Guides
View all articles →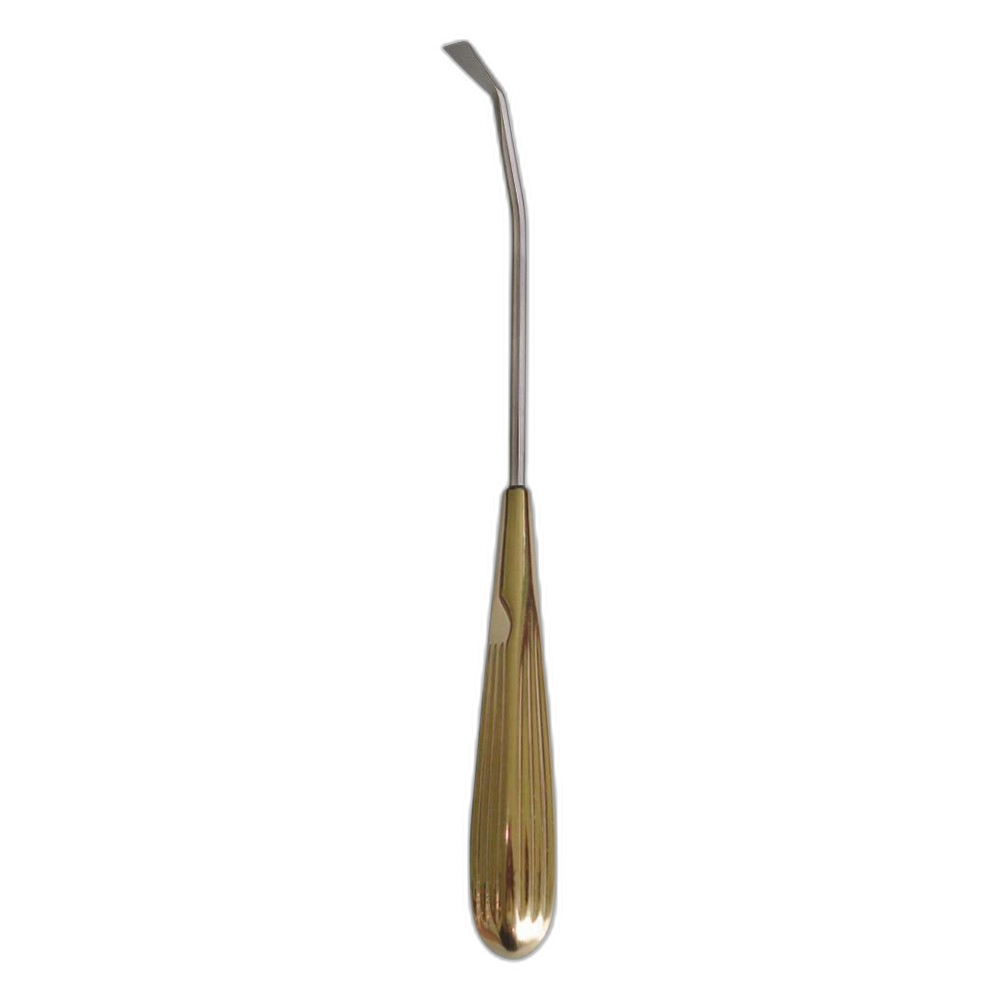
Where We Serve
Fizza Surgical exports to 50+ countries. Browse our country-specific pages with local regulatory guidance and pricing:
