Bone Hooks and Reduction Levers: Fracture Handling Instruments
Bone hook surgical instrument selection: sharp vs blunt tips, prong count, Hohmann and Trethowan levers, and the force limits behind iatrogenic fracture.
What actually moves the fragment?
It is worth asking, because the answer is rarely the plate, the screw, or the clamp. Those hold a reduction that has already been achieved. The instruments that achieve it — that physically drag a displaced fragment back into position and hold it there long enough for a clamp to bite — are hooks and levers, and they get a fraction of the attention that fixation hardware receives.
They are also the instruments most likely to be bent, sprung, or quietly retired from a set without replacement, because they take more load than anything else on the trauma tray.
Two Families, Two Different Jobs
Hooks and levers are frequently lumped together in catalogues, which obscures the fact that they apply force in opposite directions.
A hook pulls. It engages an edge, a cortical rim, or a hole and applies tension along the shaft. The surgeon’s hand supplies the force directly, and the bone is the only thing resisting.
A lever pushes, using a fulcrum. The tip is placed beyond the fragment, the shaft rests on adjacent bone or soft tissue, and the surgeon converts a small hand movement at the handle into a large force at the tip. That mechanical advantage is exactly why levers are useful and exactly why they cause iatrogenic fractures.
Understanding which one you are holding changes how much force you can safely apply. A hook that slips is a nuisance. A lever that slips has already delivered several times the force the surgeon thought they were applying.
Bone Hooks: Anatomy of the Instrument
Every bone hook surgical instrument on an orthopaedic tray reduces to four dimensions: overall length, hook depth, tip radius, and tip character.
Overall length typically runs 15–27 cm. Short hooks give better control in the hand and are the right choice for the forearm, ankle, and hand. Long hooks are needed where the fragment sits deep — femoral shaft, acetabulum, proximal humerus through a deltopectoral approach.
Hook depth — the distance from the inner curve to the tip — is the dimension that determines whether the instrument will actually engage. Common depths run roughly 6 mm to 20 mm. Too shallow and the hook skates off the cortex; too deep and it will not seat on a small fragment or a thin bone at all.
Tip radius governs how much cortical contact area carries the load. A tight radius concentrates force on a small area and cuts in; a broad radius spreads it and holds better on osteoporotic bone.
Sharp Versus Blunt Tips
This is the choice that most affects behaviour, and it is not a preference — it is a function of bone quality.
Sharp-tipped hooks penetrate cortex and hold with real security. In dense diaphyseal bone in a young patient, a sharp hook engaged in the cortical surface will not slip under significant traction. That is the instrument you want for a displaced femoral shaft fragment.
Blunt-tipped hooks distribute load over a wider contact area. They will not hold as aggressively, but they will not cut through, and in osteoporotic metaphyseal bone or in a periprosthetic situation that difference matters enormously. A sharp hook in osteopenic bone does not grip the fragment — it carves a groove in it and then slips, often taking a chunk of the fragment with it.
The practical rule most trauma surgeons converge on: sharp for dense cortical bone under high traction, blunt for cancellous, osteoporotic, paediatric, or periprosthetic bone.
Single Prong, Double Prong, Double Ended
| Configuration | Behaviour | Typical use |
|---|---|---|
| Single prong | Point loading, rotates freely on its own axis | General fragment traction, most trauma work |
| Double prong | Resists rotation, spreads load across two points | Where the fragment must not spin under traction |
| Double ended | Two depths or two tip types on one shaft | Compact trauma sets, mixed bone quality |
The double-prong advantage is underappreciated. A single hook applies force at one point, so the fragment is free to rotate about the hook tip. In a spiral or oblique fracture where rotational control is the whole problem, a two-point hook removes that degree of freedom for no extra effort.
Where Hooks Are Used
- Long bone shaft fractures — applying traction to a displaced fragment to restore length before plate application
- Ankle fractures — a small blunt hook is often enough to reduce a fibular fragment where a clamp would be too bulky
- Olecranon and patella — engaging fragments in tension-band constructs
- Total hip arthroplasty — hooking the femoral neck or greater trochanter to assist dislocation and femoral elevation
- Spinal surgery — manipulating laminae and spinous processes during exposure
- Fracture table work — assisting reduction where percutaneous traction alone is insufficient
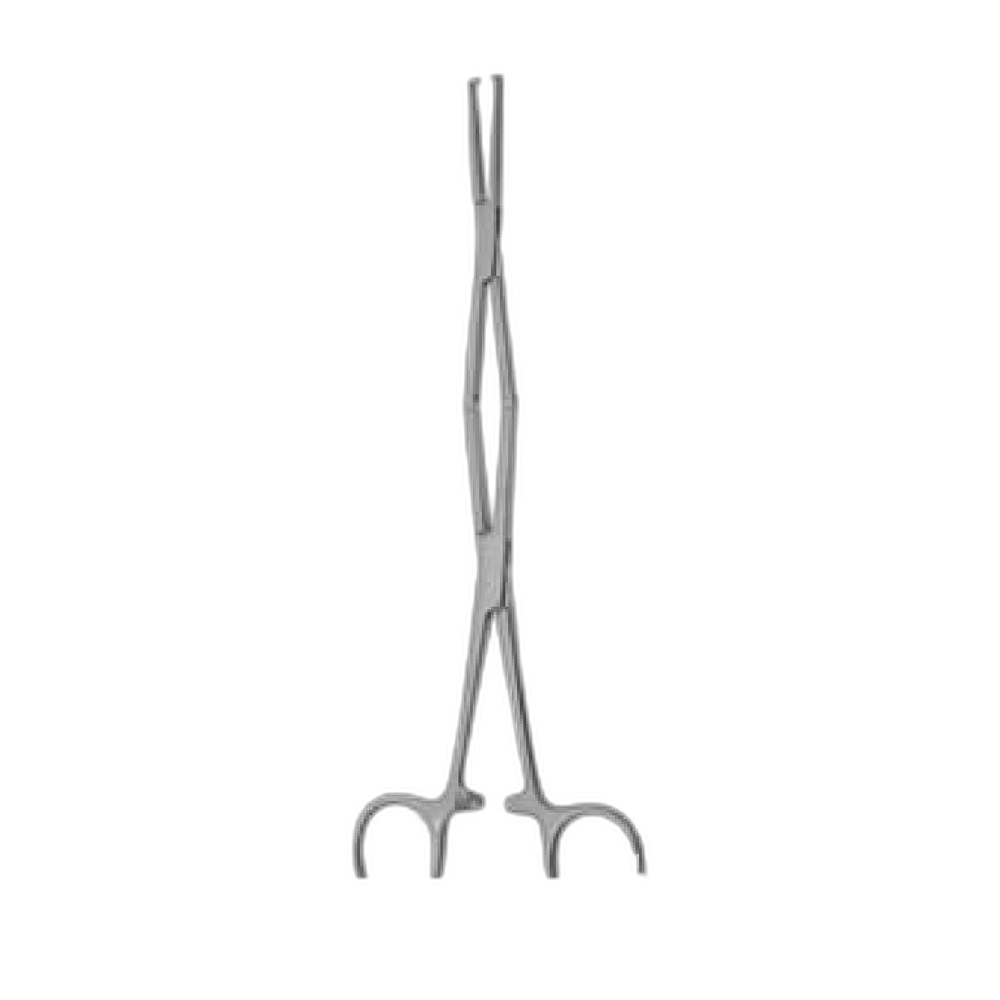
Sitting alongside these on almost every trauma tray are the clamps that take over once the hook has done its job. We covered those separately in our guide to bone holding clamps and reduction forceps, and the two instrument groups are best specified together, since a hook without a clamp to hand off to leaves the surgeon holding the reduction manually for the rest of the case.
Reduction Levers and Bone Levers
Levers are the more dangerous half of this article and the more useful.
The classic patterns divide roughly by anatomy:
| Lever | Working end | Classically used for |
|---|---|---|
| Hohmann | Flat blade with a narrow spike tip | Hip, knee, shoulder; blade widths 8–70 mm |
| Mini Hohmann | 6–8 mm tip, ~16 cm length | Hand, foot, ankle, distal radius |
| Hohmann-Aldinger | ~24 mm working end, ~27 cm length | Deep joint exposure, arthroplasty |
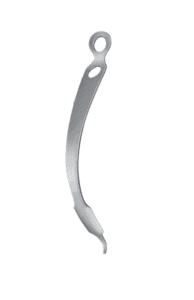
| Lane-Trethowan | Bent lever, no spike | Shaft fracture reduction, general levering |
| Bennett | Broad curved blade | Tibial exposure, knee arthroplasty |
The Hohmann family is large enough and used widely enough that we gave it its own treatment in the Hohmann retractor sizing guide. The short version for set-building purposes: the spike anchors on the far cortex, the blade retracts soft tissue, and blade width should match the bone width — a lever much wider than the bone it sits on will lever against soft tissue instead of bone, which is where nerve injuries come from.
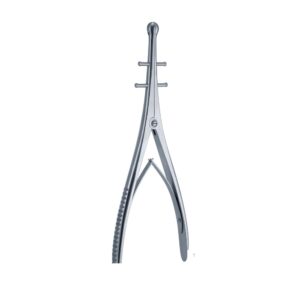
Lane-Trethowan levers differ in having no spike. They are pure levers, seated in the fracture site or against a cortical edge, and are the traditional instrument for prying a shortened, overlapping shaft fracture back out to length. That absence of a spike is deliberate: nothing anchors, so the instrument can be repositioned instantly, but it also means the surgeon is relying entirely on maintaining the fulcrum position.
The Force Problem
Here is where the mechanics deserve stating explicitly, because it explains both the clinical complications and the instrument failures.
A lever with a 20 cm shaft, fulcrumed 2 cm from the tip, delivers roughly nine times the applied hand force at the working end. A surgeon pushing with 100 N — a modest, controlled effort — is putting something near 900 N through a tip contacting a few square millimetres of bone.
Three consequences follow.
Iatrogenic fracture. Osteoporotic bone, and particularly periprosthetic bone around a stem, cannot absorb that. Levering to gain exposure in a revision arthroplasty has produced more intraoperative femoral fractures than any hook ever has. The mitigation is not a better instrument; it is choosing a broader-tipped lever and accepting less exposure.
Nerve injury. A lever tip placed over the anterior acetabular wall in hip arthroplasty sits near the femoral neurovascular bundle; a posterior placement sits near the sciatic nerve. The tip must be on bone, confirmed by feel, before load is applied. A lever that “slipped off” was almost certainly never anchored.
Instrument failure. Levers bend. A permanently bent lever has been loaded past its yield point, which means it has also absorbed energy that did not go into the reduction. Bent levers should be withdrawn, not straightened — cold working introduces residual stress and the instrument will fail earlier the second time, usually at the worst moment.
Material and Manufacture
This is one instrument category where hardness genuinely matters. A retractor blade can be soft; a lever tip that has to anchor in cortical bone under 900 N cannot be.
Materials fall under ISO 7153-1. Hardenable martensitic grades — the AISI 410 and 420 families — are the usual choice, heat treated to give the tip enough hardness to resist deformation while retaining sufficient toughness in the shaft that the instrument bends rather than snaps under overload. That last property is a deliberate design trade-off: a lever that shatters in a wound is a far worse event than one that bends.
Three specification points are worth insisting on when specifying a bone hook surgical instrument or lever for a trauma set:
- Hardness range at the tip. Ask for the specified range, not just “hardened”. A tip that deforms on first use was never heat treated correctly.
- Shaft-to-handle transition. This is the second-highest stress point after the tip. A generous radius at the transition resists fatigue cracking; a sharp step concentrates it.
- Handle geometry. Levers and hooks are used with real force, often through wet gloves. A knurled or contoured handle that does not rely on friction alone is not a luxury.
Fizza Surgical has manufactured orthopaedic instruments in Sialkot under CE marking and an ISO 13485 quality system since 1980, and heat treatment on levers and hooks is one of the process steps we control most tightly — precisely because the failure mode is not cosmetic. The full orthopaedic range sits in our bone surgery instruments catalogue.
Inspection and Service Life
Hooks and levers should be checked more often than the rest of the tray, and the checks are quick:
- Straightness. Sight down the shaft. Any visible deviation from the original geometry means the instrument has yielded. Retire it.
- Tip condition. A sharp hook that has rounded over no longer engages cortex; it slips instead. A blunt hook that has developed a burr does the opposite and lacerates soft tissue.
- Spring back. A lever that flexes noticeably under moderate hand pressure has lost temper and will not hold under load.
- Handle security. On two-piece instruments, check for any rotation or play between handle and shaft. Play here becomes failure under load.
- Surface integrity. Pitting or corrosion at the tip is a stress raiser on the exact feature that carries the highest load.
Realistically, hooks and levers have a shorter service life than most of the tray, and departments that budget for them as consumables replaced on condition rather than as permanent assets end up with a safer set. The instrument that fails during a difficult reduction costs far more than its replacement price.
Frequently Asked Questions
Sharp or blunt bone hook — how do I choose?
By bone quality. Sharp tips penetrate and hold securely in dense cortical bone under high traction, which suits diaphyseal fractures in younger patients. Blunt tips spread load over a wider area and are the correct choice in osteoporotic, cancellous, paediatric, or periprosthetic bone, where a sharp tip will cut through the fragment rather than grip it.
What is the difference between a bone hook and a bone lever?
Direction of force. A hook applies tension — it pulls a fragment toward the surgeon using force applied directly by hand. A lever applies compression through a fulcrum, multiplying hand force several-fold at the tip. That multiplication makes levers far more powerful and far more capable of causing iatrogenic fracture.
Can a bent lever be straightened and reused?
No. A bent instrument has been loaded past its yield point, and cold straightening adds residual stress rather than removing it. The instrument will fail earlier the second time. Withdraw it from the set and replace it.
How many hook sizes does a trauma set need?
Most general trauma sets are adequately served by three: a short blunt hook for the ankle, foot and forearm, a medium sharp hook for general shaft work, and one long hook for deep femoral and acetabular access. Departments doing arthroplasty or revision work should add a broad-tipped blunt option specifically for periprosthetic bone.
Why do levers cause nerve injuries?
Because the tip is not on bone. When a lever tip sits on soft tissue rather than anchored against a cortical surface, the multiplied force is transmitted directly into whatever is under it — near the acetabulum that can mean the femoral or sciatic nerve. Confirming bony contact by feel before applying load is the entire mitigation.
Building the Set
A workable specification is short: for hooks, state length, hook depth, tip character and prong count. For levers, state pattern, blade width and overall length. Add a hardness specification for both.
Departments assembling a complete trauma inventory typically order hooks and levers alongside their reduction clamps and plating instrumentation, since a reduction sequence uses all three in the space of a minute. Our manufacturing approvals and quality certifications are listed on the certifications page.
Need precision surgical instruments?
Configure complete instrument sets with our team — ISO 13485 certified, CE marked, made in Sialkot since 1980.
Related Guides
View all articles →
Where We Serve
Fizza Surgical exports to 50+ countries. Browse our country-specific pages with local regulatory guidance and pricing: